A Homemade Wooden Power Rack
I'm starting to do some barbell training (using Mark Rippetoe's
Starting Strength
program) and rather than join a gym or buy a metal power rack,
I decided to build a power rack in my basement out of 4x4's, 2x4's and 2x6's.
It is a fairly simple project if you have even a little woodworking experience. The only tools I used were a circular saw and cordless drill with a 1" 1/8 spade bit and a screw driver attachment. Using a table saw and drill press would have probably been better, but you have to use what you have available. If you take your time you can get everything cut quite square and make a very stable structure.
Most of the credit for the design belongs to Aaron Gipperic (check the comments on that page for many more examples!) who built a power rack using two 2x6's screwed together as posts. Although I leaned heavily on his design, I made a few modifications to cut down on my cost/labour. In particular I used 4x4's for the posts and 2x4's for the rest of the frame and bracing while Aaron used 2x6's almost everywhere. He also used lag bolts for some of the assembly while I used structural screws. The structural screws are super easy to use and don't require drilling pilot holes like lags usually do. I also screwed mine directly to the floor joists in the ceiling which improved lateral stability quite a bit.
In general, Aaron's design is quite a bit more beefy but I have loaded mine with close to 500lbs of weight and it remained rock steady. The compressive axial load of a single 4x4 is in the 1000's of pounds So the only real concern I would have is the safety pins failing if an extremely heavy load was dropped on them. I don't anticipate ever squatting more than a few hundred pounds so the 1" OD galvanized pipes I used as safety pins should be more than capable of handling that load.
Materials List
A complete list of materials that I used:
- 4 4x4x8's for the posts cut to 78"
- 1 2x6x8 for the two bottom platforms that the 4x4's sit on
- 6 2x4x8's for the rest of the frame and bracing
- ~130 #8 3" construction screws
- 2 4' 3/4" galvanized pipes for the safety pins
- 6 45° 3/4" galvanized elbows
- 6 6"x3/4" galvanized pipes
- 6 3/4" galvanized end caps
Check Aaron's post linked above for detailed blueprints which you can modify to suit your needs/space.
Pictures & Video
Heres a few pictures of the project. Sorry for the not so great quality :)
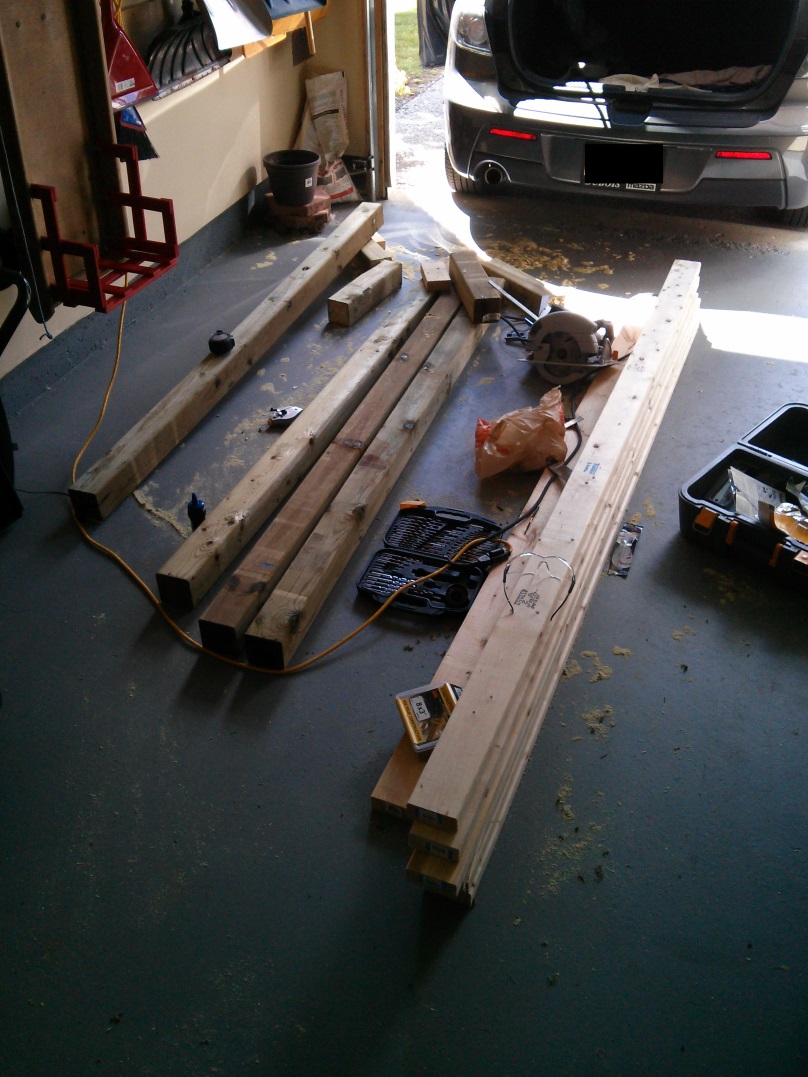
Wood ready for cutting
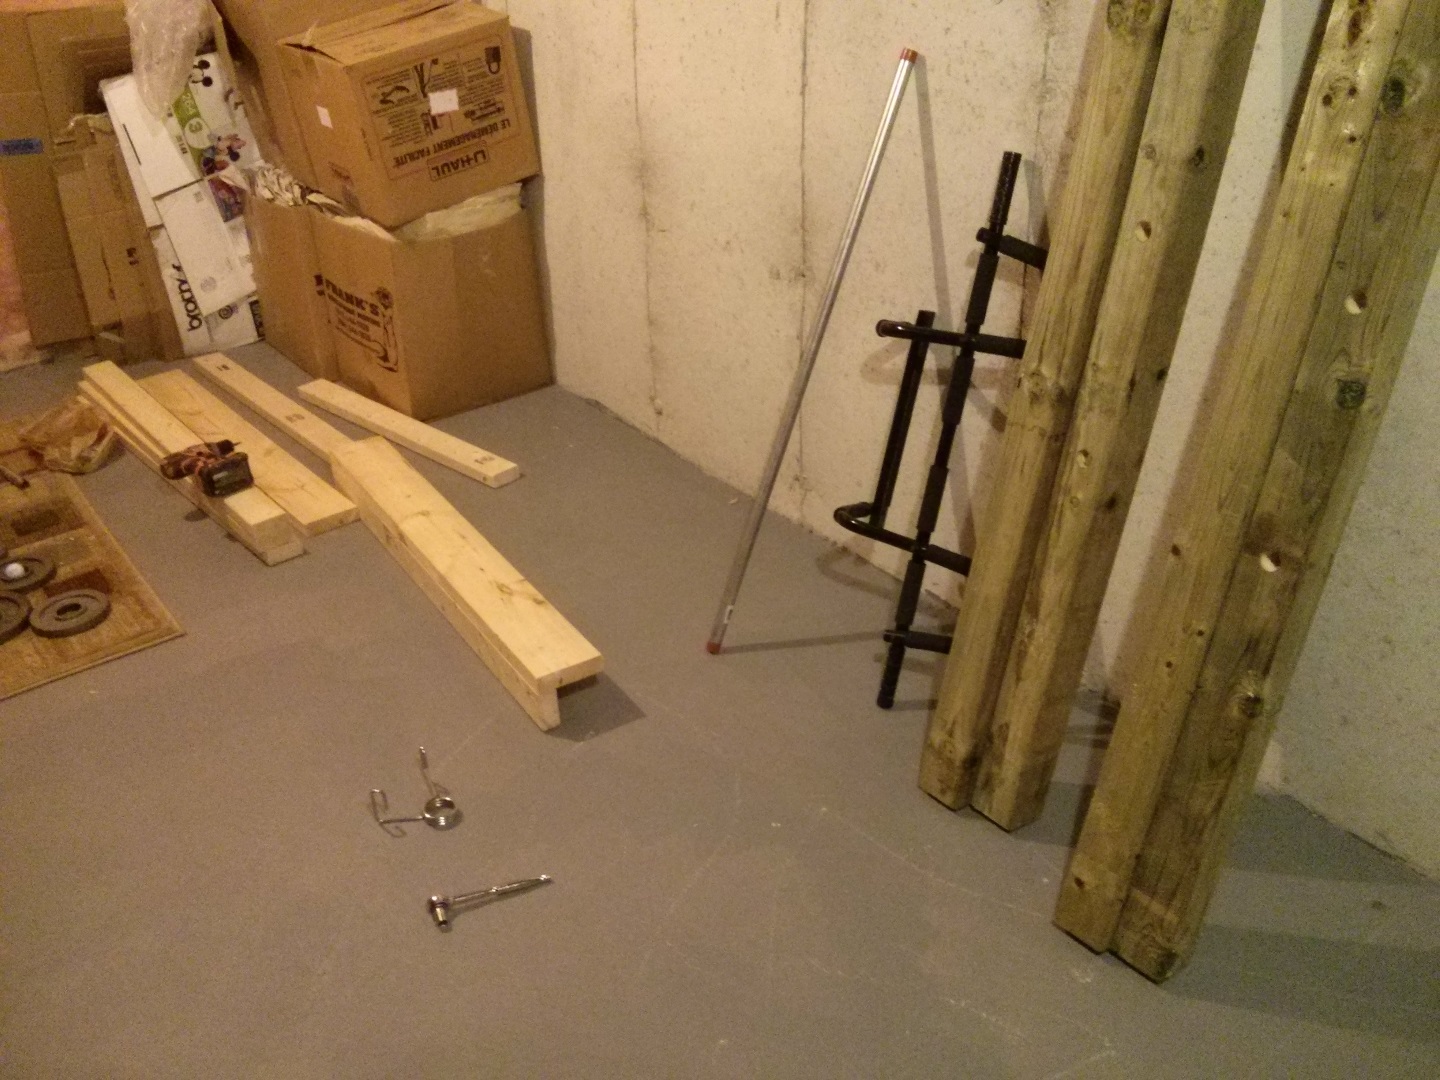
Wood cut, holes drilled, and ready for assembly in the basement
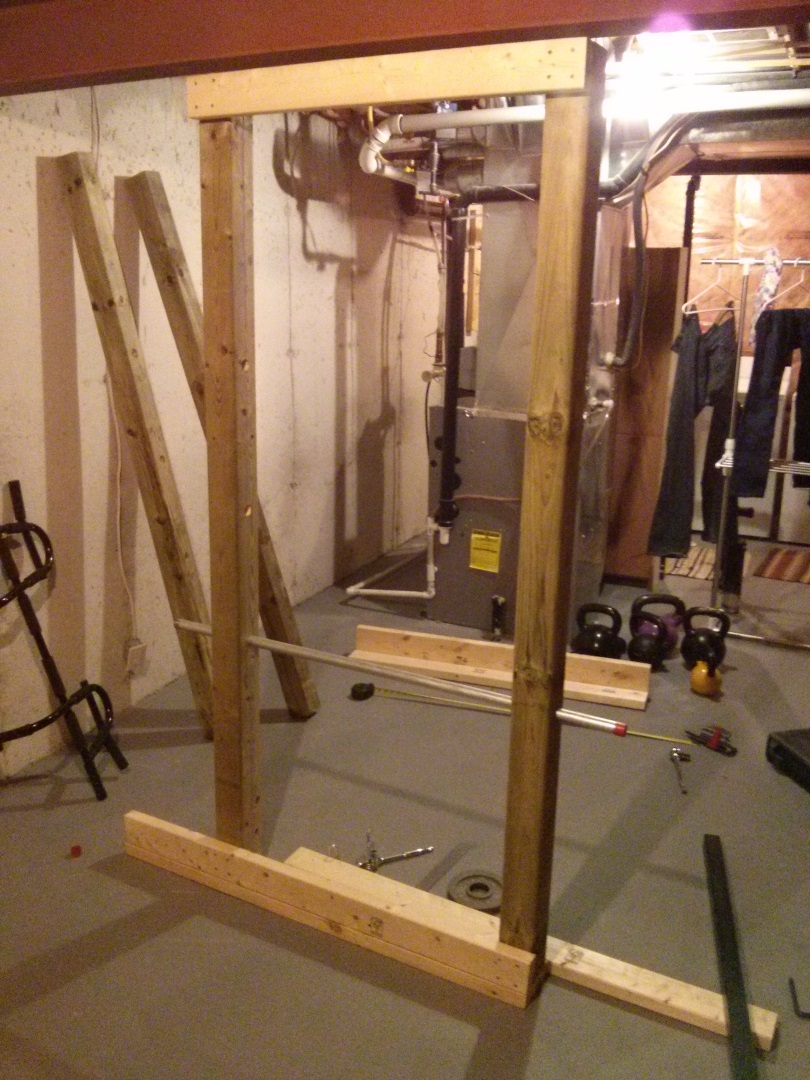
First frame assembled
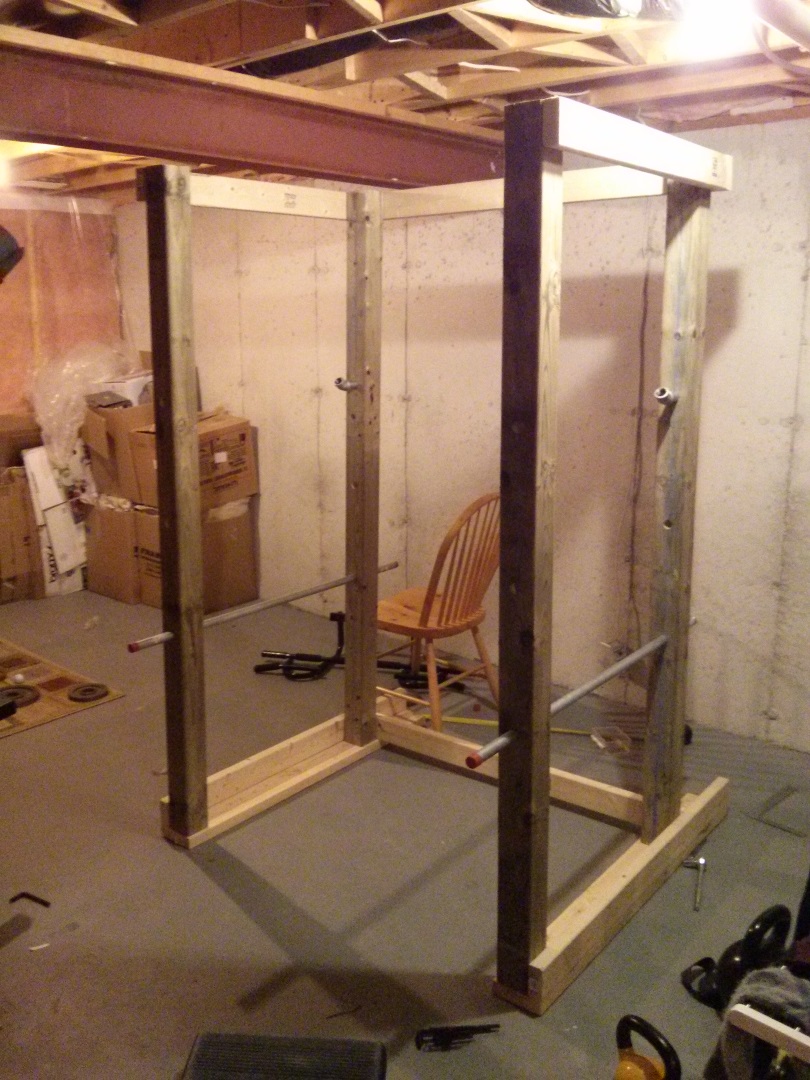
Two frames joined together by cross braces
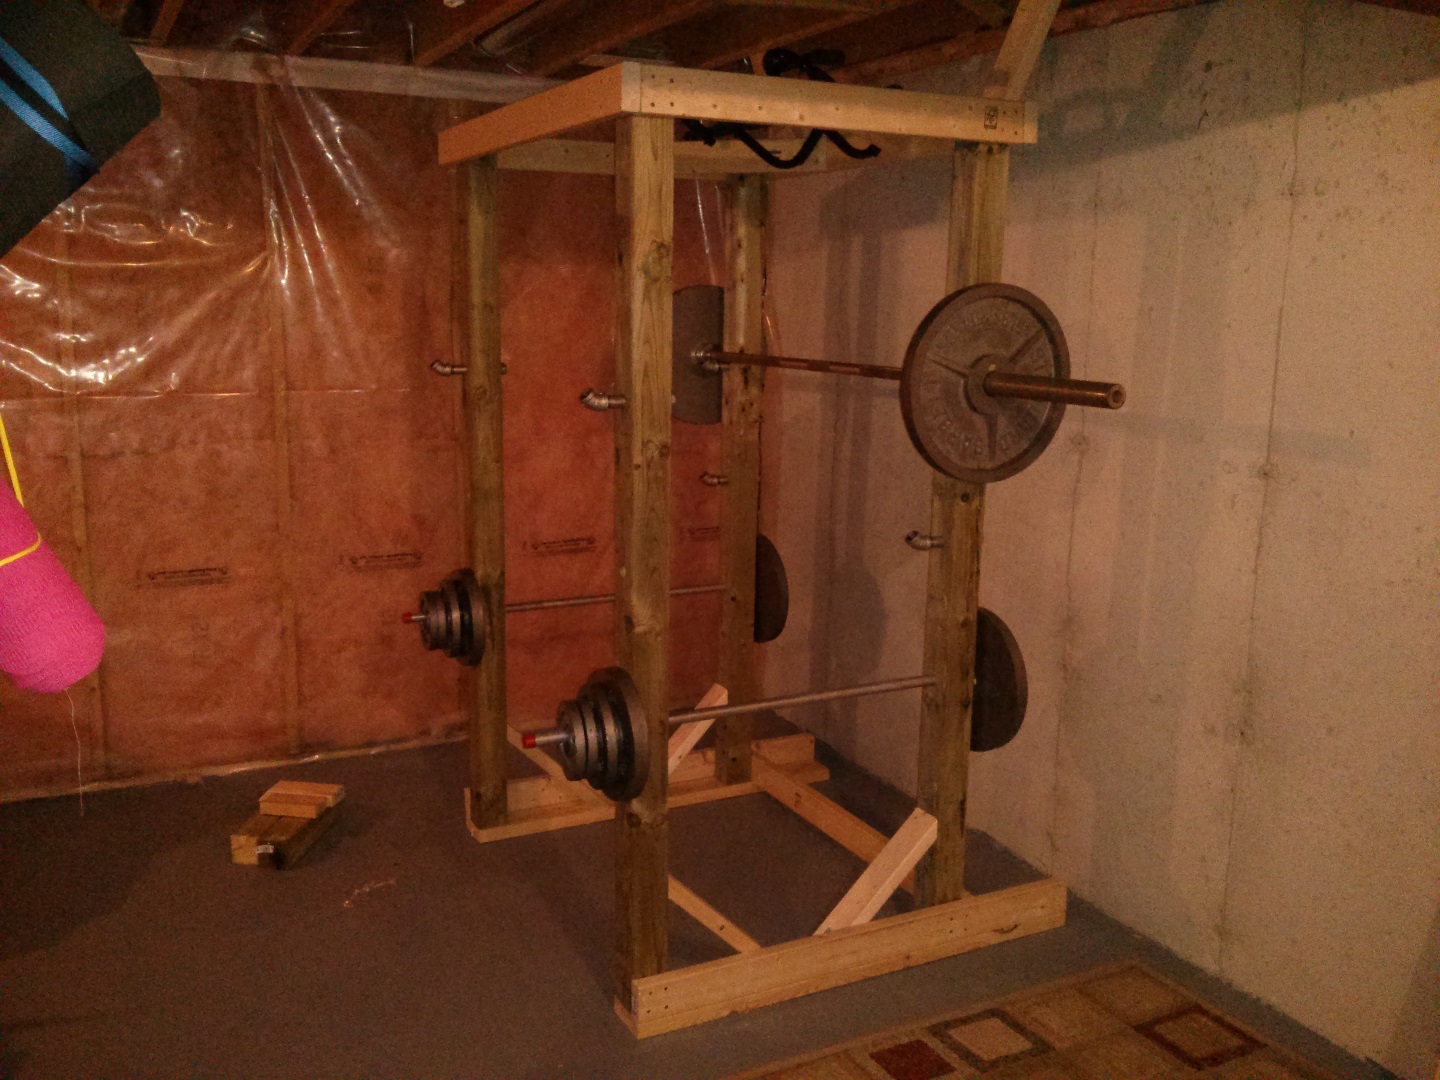
Final assembly - side view with view of braces running to floor joists
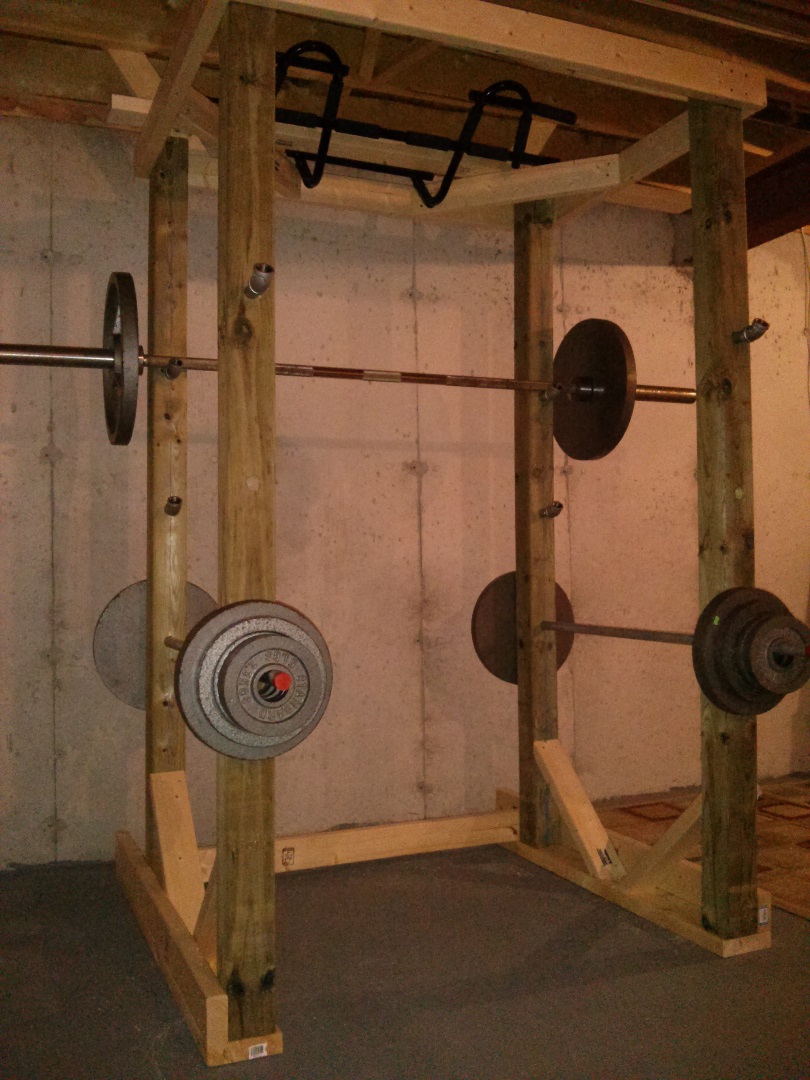
Final assembly - front view with pull-up bar
One of my first sets of squats in the cage!
Conclusion
This was a fun low cost (~$180), low level-of-difficulty project. All together it took me probably 5 or 6 hours spread out over a few days. Most importantly it got me excited about starting to lift!
About

Hey I'm Randy and I live in Port Elgin, ON, Canada with my wife and two kids. I love writing software to create practical solutions to technical problems. You can see some of my work on my Projects page.
Get in touch if you want to discuss how I can help your organization.